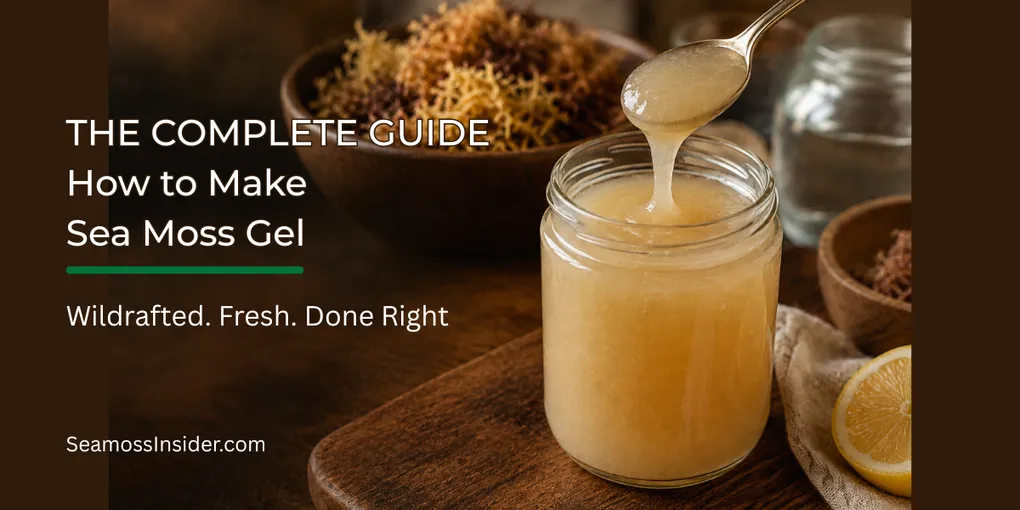
How to Make Sea Moss Gel at Home (The Right Way)
Quick Answer: To make sea moss gel, rinse dried wildcrafted sea moss under cold water, soak in filtered water for 12–24 hours, rinse again, then blend with 1–1.5 cups of fresh filtered water until completely smooth. Transfer to a glass jar and refrigerate — the gel firms up within a few hours and keeps for 2–4 weeks. The two most common mistakes are insufficient rinsing (leads to gritty, salty gel) and too much water during blending (leads to a thin gel that won’t hold its consistency).
A jar of quality sea moss gel from a reputable brand runs anywhere from $25 to $45. Made at home from wildcrafted raw sea moss, the same amount costs a fraction of that — and you know exactly what’s in it.
The process isn’t complicated, but there are a handful of steps where people go wrong. A bad rinse leaves a gritty, salty gel that nobody wants in their smoothie. Too much water makes a gel so thin it barely coats a spoon. The wrong storage approach cuts the shelf life in half.
This guide covers the full process correctly, start to finish.
What You Need
Ingredients:
- 1 oz (28g) dried wildcrafted sea moss — this yields roughly 2 cups of finished gel
- Filtered or spring water for soaking
- Filtered or spring water for blending (approximately 1–1.5 cups)
- Optional: fresh lime or lemon juice (1 tablespoon — adds brightness and extends shelf life slightly)
Equipment:
- Large bowl for soaking
- Colander or strainer
- High-powered blender (a standard blender works, but a high-powered model produces a smoother result)
- Glass mason jar or airtight glass container for storage
- Clean hands or gloves
Step 1: Inspect Your Raw Sea Moss
Before soaking, spread your dried sea moss out on a clean surface and look it over. Wildcrafted sea moss will have some natural variation in color — gold, brown, hints of purple — and may have small bits of sea salt, fine sand, or dried debris attached to it. This is normal and expected.
What you’re looking for:
- No strong ammonia or sulfur smell (a mild oceanic smell is fine)
- No black or heavily discolored patches throughout
- The characteristic irregular, branched structure of real sea moss
If your sea moss looks uniformly clean, odorless, and perfectly consistent in color, you may be working with pool-grown moss — which is worth knowing going in, as it will produce a lighter gel with a less complex mineral profile. (For the full breakdown, see Wildcrafted vs. Pool-Grown Sea Moss.)
Step 2: Rinse Thoroughly
Place your dried sea moss in a colander and rinse it under cold running water for 60–90 seconds. Use your hands to gently move the moss around while rinsing, separating any clumped pieces.
This first rinse removes loose surface salt, sand, and debris. Don’t skip it or rush it — residual salt in the finished gel is the most common complaint from first-time makers.
Step 3: Soak Overnight (12–24 Hours)
After rinsing, transfer the sea moss to a large bowl and cover completely with cold filtered water. The moss will expand significantly — roughly 3–4 times its dried size — so use a bowl with plenty of room.
Cover the bowl loosely and let it soak at room temperature for a minimum of 12 hours. A full 24-hour soak produces a softer, more fully hydrated moss that blends into a smoother gel.
Notes on soaking water:
- Use filtered or spring water, not tap water. Chlorine and fluoride in municipal water can affect both the taste and the mineral integrity of the final gel.
- The soaking water will turn slightly cloudy and may take on a faint golden or greenish tint. This is normal — the moss is releasing natural compounds into the water.
- Some people discard the soaking water; others add a portion of it to the blender for extra nutrients. Either approach is fine. If the soaking water smells off or looks excessively dark, discard it.
Step 4: Rinse Again
After soaking, drain the moss and rinse it again under cold water for another 60–90 seconds. The moss should now be soft, pliable, and noticeably expanded. Run your fingers through it to check for any remaining grit or debris.
This second rinse is the one most people skip — and it makes a meaningful difference in the cleanliness of the final product.
Step 5: Blend
Add your rinsed, soaked sea moss to the blender. Start with 1 cup of fresh filtered water and blend on high for 60–90 seconds. Check the consistency — it should be smooth and viscous, similar to a loose pudding or thick cream.
If it’s too thick to blend smoothly, add water 2 tablespoons at a time until the blender moves freely. The gel will thicken further as it chills in the refrigerator, so err slightly thinner than your target consistency.
Blending tips:
- Blend in batches if your blender jar is more than two-thirds full — sea moss expands as it blends
- If using a standard blender, let it run longer and check for unblended chunks before transferring
- A small amount of lime or lemon juice blended in adds brightness to the flavor and the vitamin C may help with mineral absorption
The finished blend should be pale gold to cream-colored, smooth, and glossy. A slight natural smell is normal; it should not smell fishy or sharp.
Step 6: Transfer and Refrigerate
Pour the finished gel into a clean glass mason jar or airtight glass container. Avoid plastic containers — they can affect taste and are harder to fully sanitize.
Let the gel cool to room temperature before sealing and refrigerating. It will firm up noticeably within a few hours in the fridge, reaching its final gel consistency by the following morning.
Shelf Life and Storage
Properly made and stored sea moss gel lasts 2–4 weeks in the refrigerator. A few things that affect shelf life:
- Cleanliness of your equipment — any residual food particles in the blender or jar can introduce bacteria that shorten shelf life
- Water quality — filtered water produces a longer-lasting gel than tap water
- Lemon or lime juice — adding citrus during blending extends shelf life slightly due to the acidity
Signs a batch has turned:
- Off or sour smell (beyond the normal mild oceanic note)
- Pink, orange, or dark discoloration
- Watery separation with a thin film on top that doesn’t integrate when stirred
If in doubt, discard it. Sea moss gel is inexpensive to make and not worth the risk.
Freezing: Sea moss gel freezes well in ice cube trays. Once frozen, transfer the cubes to a sealed bag — they keep for up to 3 months and make portion control effortless. Pull a cube or two as needed and add directly to a blender.
Daily Use
The standard daily serving is 1–2 tablespoons. Most people add it to:
- Morning smoothies (the mild flavor disappears completely)
- Coffee or tea (stir in after brewing — don’t boil it)
- Oatmeal or overnight oats
- Fresh juice
- Directly off the spoon if you’re not fussy about texture
If you’re using sea moss as part of the Holy Trinity stack with bladderwrack and burdock root, the gel is the easiest way to take the sea moss component — just take your bladderwrack and burdock root as capsules alongside it.
Making Infused Gel: The Holy Trinity Version
If you want to combine sea moss and bladderwrack into a single gel, the process is nearly identical. Add 1–2 teaspoons of dried powdered bladderwrack to the blender along with the soaked sea moss. Blend as normal.
The resulting gel will be darker in color — ranging from golden brown to greenish — and have a slightly stronger oceanic flavor. The mineral profile will be noticeably richer, and the iodine content will be higher. If you’re using this version, be mindful of total daily iodine intake, particularly if you’re also eating other seaweed or seafood regularly.
Troubleshooting Common Problems
Gel is too thin: You added too much water. This batch will still work — the gel is just less concentrated. Next time, start with less water and add gradually.
Gel is too thick to pour: Slightly more water next time. You can also add a small amount of water and re-blend if the current batch is unusable.
Gel has a gritty texture: Insufficient rinsing before soaking, or insufficient blending. A second pass through the blender usually resolves this.
Strong salty or fishy taste: More thorough rinsing and a longer soak (24 hours, changing the water halfway through) will address this on the next batch.
Gel turned within a week: Either the equipment wasn’t fully clean, tap water was used, or the storage container wasn’t fully airtight. Check all three for the next batch.
The Economics
1 oz of quality wildcrafted raw sea moss: approximately $8–12 depending on source Yield: roughly 16 tablespoons of finished gel (2 cups) Cost per daily serving (2 tbsp): approximately $1–1.50
Compared to $25–45 for a comparable jar of pre-made gel from a quality brand, the savings over a year of daily use are substantial — without any compromise in quality. In fact, the quality is typically higher, because you control the source, the water, and the process.
Frequently Asked Questions
Can I use tap water to make sea moss gel? You can, but filtered or spring water produces a better-tasting, longer-lasting gel. Chlorine in tap water can affect both the flavor and the shelf life.
Does blending sea moss destroy its nutrients? No. The nutrients in sea moss are not heat-sensitive at blending temperatures. High-speed blending may break down some cell walls, which can actually improve bioavailability.
Can I make sea moss gel with dried powder instead of raw moss? Yes, though the process is different — dried powder doesn’t require soaking and blends directly with water. The resulting gel tends to be less mucilaginous than gel made from whole raw moss, and quality varies significantly by brand.
How do I know if my sea moss gel has gone bad? Off smell, unusual discoloration (pink, orange, or dark), or watery separation that doesn’t integrate when stirred are the main signs. When in doubt, discard.
Can I add other ingredients to the gel? Yes. Elderberry, ginger, turmeric, and fruit juices are popular additions. Add them during the blending step. Be aware that additional ingredients may shorten shelf life — flavored gels typically last closer to 2 weeks than 4.
Next up: Real vs. Fake Sea Moss — How to Spot the Difference Before You Buy — because what you start with determines everything about the gel you end up with.